Blog
Sep 29, 2024
4 mins
Supercharge your Framer forms with Airtable
Send automated emails from your Framer site for FREE.
Ever wondered how companies send you emails such as welcome messages whenever you signup for a product online? They don't send these emails manually, because that's not feasible when you have a database with multiple records. These emails are sent instantly.
If you use Framer, you must have definitely used their forms (using the form builder or the other available third party forms) in your projects. And most probably you use your email or Google Sheets to collect submissions. This is fine for most use cases, but it gets limiting when you want to go one step further. For instance, if you have a contact form on your Framer site, and use the 50 monthly form submissions (that comes with the Free plan), even though you get notified of the submission from the user, but there is no way for the user to get notified. That, is a case to worry about.
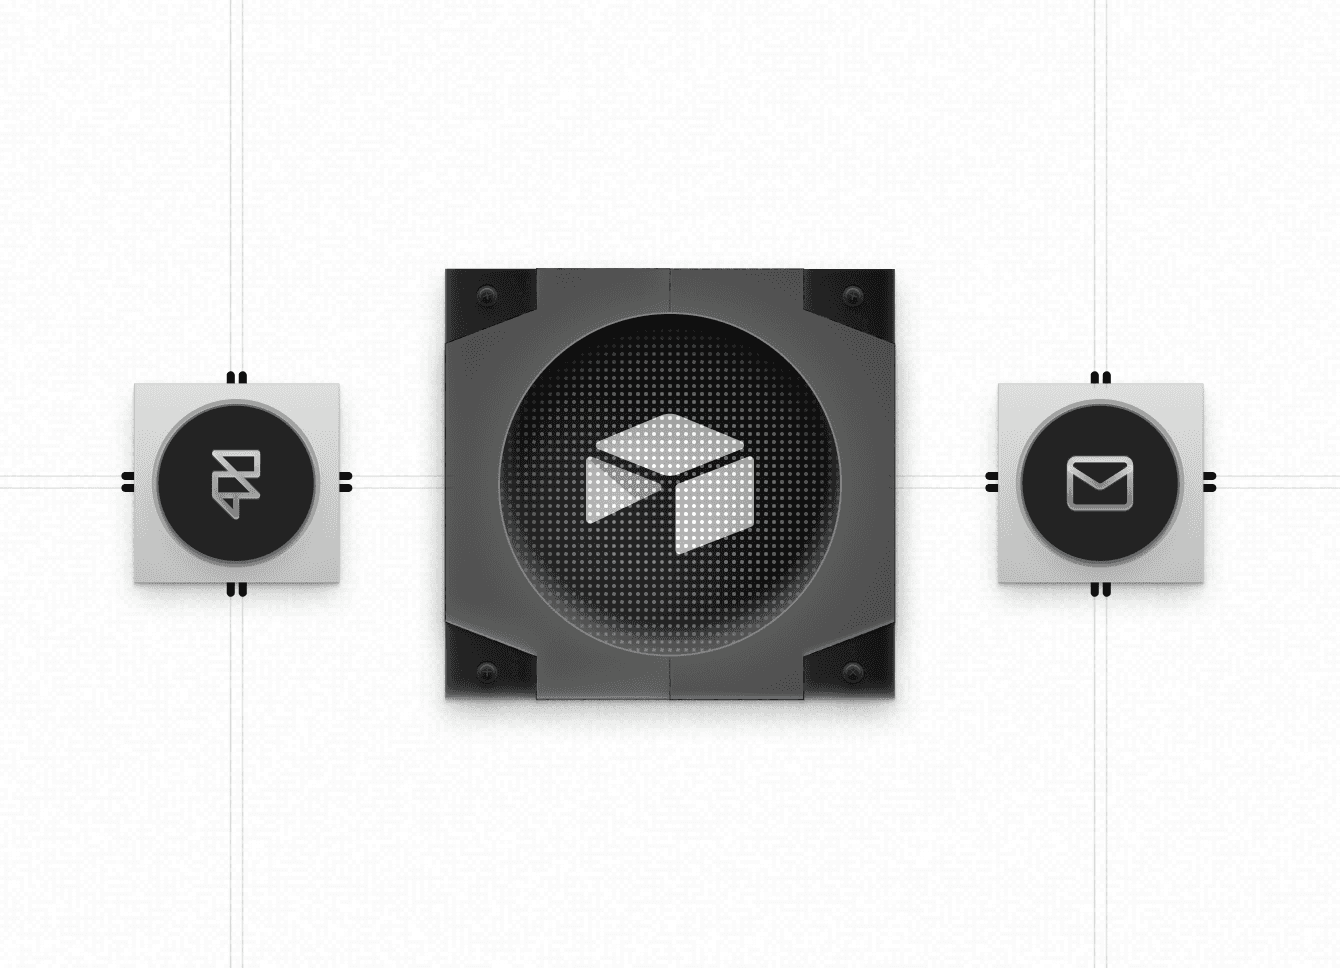
But what if I told you there's an easy way to collect submissions, build your database and automate emails (such as confirmation of submission)? By connecting Airtable with Framer, it's possible to do all the above. Let me show you how.
Setting up your Framer Form
The first step is creating your form in Framer. If you are already familiar with this, skip to the next step.
Drag and drop the form builder component into your page.
Adjust the size and customize the form input fields accordingly.
Choose the required input types for your input fields (for example, email, name, contact number, etc.)
Name the input labels.
If you are using your own submit button, make sure you set it as the submit button.
Create and select the necessary states for your submit button (loading, success, error, incomplete)
You can add a form submission success state by making the whole form an overlay. Use our easy to customize form success overlay component.
Creating an Airtable
Go to Airtable and create an account.
On the dashboard, from the bottom left corner, choose 'Create'.
Create a Base from scratch by choosing 'Start from Scratch'.
You will see a table (Table 1 by default) with some fields created by default. The first column is the primary field. Double click on the Untitled Base on the top left corner and name your base. You can also do the same and change the name of your table.
Name your fields accordingly with the input names from your form. For example, if you had a form with the following input fields in Framer: Name (text type input), Email (email type input) and Description (text area type input), create three fields namely, Name (single line text field), Email (email field) and Description (long text field) in your airtable.
Create an additional field called Created on and select the 'Created time' (turn on time if you want to capture the time too) field. This will automatically add the date and time for every record.
Setting up a webhook
On the top menu, right beside Data, select the Automations tab. This will take you into the automating editor.
Select 'Add trigger'.
From the list, select the 'When webhook received' trigger.
On the right, you will see the Properties panel.
In Configuration, under Setup, copy the webhook.
Go back to Framer and select your form.
On the right, you will see the Form properties from the Properties panel.
For Send to, click the add icon and select Webhook.
Paste the webhook you copied from Airtable in the API section.
Publish your form and do a test submission.
Go back to Airtable's automation editor.
On the properties panel, you will see the Test Trigger option. Click that.
Below, on Results you should see a 'Step successful' message.
Creating a record action
Once we have finished creating the webhook trigger, it's time to create the record trigger to add a new record to the table everytime the a submission is made in the form.
From the automation editor, select 'Add advanced logic or action'.
From Airtable actions, select 'Create a record' action.
You can choose to add a description for the label on the properties panel.
In configuration, under Table, select the table where you have created the fields.
Under Fields, select 'Choose fields'. Select your first field.
Under your field, click the 'Add' icon.
Under 'Insert value from field', select 'Body' and then select the corresponding input field from your form. You can also use the search option.
Repeat the step for all the other fields.
Once you have mapped all the field, under Test step, select 'Generate a preview'. Check if the demo record is matching the submission you have made on the Framer form.
You have finished mapping your form fields to your Airtable fields. Your database is now ready. Whenever someone makes a submission in your form, it will recorded in the Airtable.
Creating a Gmail action
Now, let's create the email automation that you have always dreamt off!
Create an action by selecting 'Add advanced logic or action'
Under Integrations, choose Gmail and select the 'Send email' action.
In the properties panel, you can add a description for the label.
In configuration, under 'Gmail account' connect your Gmail to Airtable.
Under 'To' (which will be the receiver's email address' click the 'Add' icon.
Select the Email field.
You can add email details additional details by selecting 'Show more options' under 'To'.
Under 'Subject' add the subject of your email. You can also add the name field to the subject.
Similarly, under 'Message' add the content of your email. You can map different fields into the content by adding an field from your table. You can also use HTML.
Lastly, you can add any attachments if you want under 'Attachments'.
Generate a preview and check the email.
There you have it, you have created a Gmail action and your automated emails are all ready.
Testing your automation
It's time to test the awesome automation you have made.
In the automation editor, in the top right, turn on the automation toggle.
Go to your published form and make a submission.
Check the email which you have entered in the form submission.
Thank me later!
Last words
I hope you were able to create the Framer to Airtable to Gmail automation very easily with this guide. Using the Airtable automation builder, you can create multiple automations like the one we have created for various scenarios, like a slack notification (for the next guide) whenever someone makes a submission so that you can provide the quickest customer support possible.
Your template store or brand website has got a new superpower. Be sure to have fun using it.
If the guide was helpful, do consider signing up for the newsletter. Happy creating!


